DIY Painted Subfloors
This has been one of my favorite DIY home projects yet! Great for the artistic minded and/or the budget-conscious minded!
**Please note: I am an artist, not a professional interior painter or construction guru. I recommend doing your research about technical information before you follow my DIY lead.

As you can see, we started with some pretty "well-loved" carpet. Before I started, we cleared out all area furniture.

As you can see, we started with some pretty "well-loved" carpet. Before I started, we cleared out all area furniture.

Before we ripped out the carpet, we cut the carpet and padding into 2ft width rows with utility knifes. As we pulled up each row, we rolled it up tightly and discarded. We called the the City of Loveland Solid Waste beforehand and they brought us a 3 cubic yard dumpster to put in front of the house for a month for $90.00. Well worth the convenience and also encouraged us to clean out our garage and shed within the month! On another note, it went much faster with help! My mom was happy to assist us in getting the carpet "out of there" so dinner and drinks for her! And well, Rheya Lee just though it was fun. I made her pair her princess outfit with a pair of disposable gloves and a big scrub-a-dub after. Don't worry, she didn't use the utility knives.

Next, we pull up all tack strips with a chisel and hammer. Don't leave any behind! Discard.


Next, I used a hand sander to sand the plywood because it was in rough shape. As you can see from my beautiful attire, this was a little gross for me so I covered up completely just to be safe. There were a lot of dogs who previously lived in this house and a lot of accidents (bless their hearts). I used a shop vac to vacuum up entire area, including all the cracks, crevices, and the new space between the trim and floors. We looked into wether or not we should use chemicals on it to wash it but most people advised against it due to the wood sucking up the moisture and creating more problems. We were advised the next step would take care of it all...

I painted the floors with KILZ and a long handled paint roller. I chose to use KILZ MAX to tackle the tough pet stains and oders. It's also a primer, sealer, and stain blocker. They recommend two coats, I did three with an hour dry time in between. It's very strong.... make sure you have air flow, a mask and eye protection. We made sure the house was kid and pet free while I did this. I recommend reading the info on www.kilz.com before beginning.

I filled all cracks, crevices, and nail holes with joint compound and smoothed. I probably should have used paintable caulk but this is what I had on hand and it was super easy. Because the finished floors were going to be medium-dark color with a lot of texture, it worked just fine in the end. If you are going for a lighter color with a solid color, I'd use something else. This took a couple of hours to dry before I could move on.
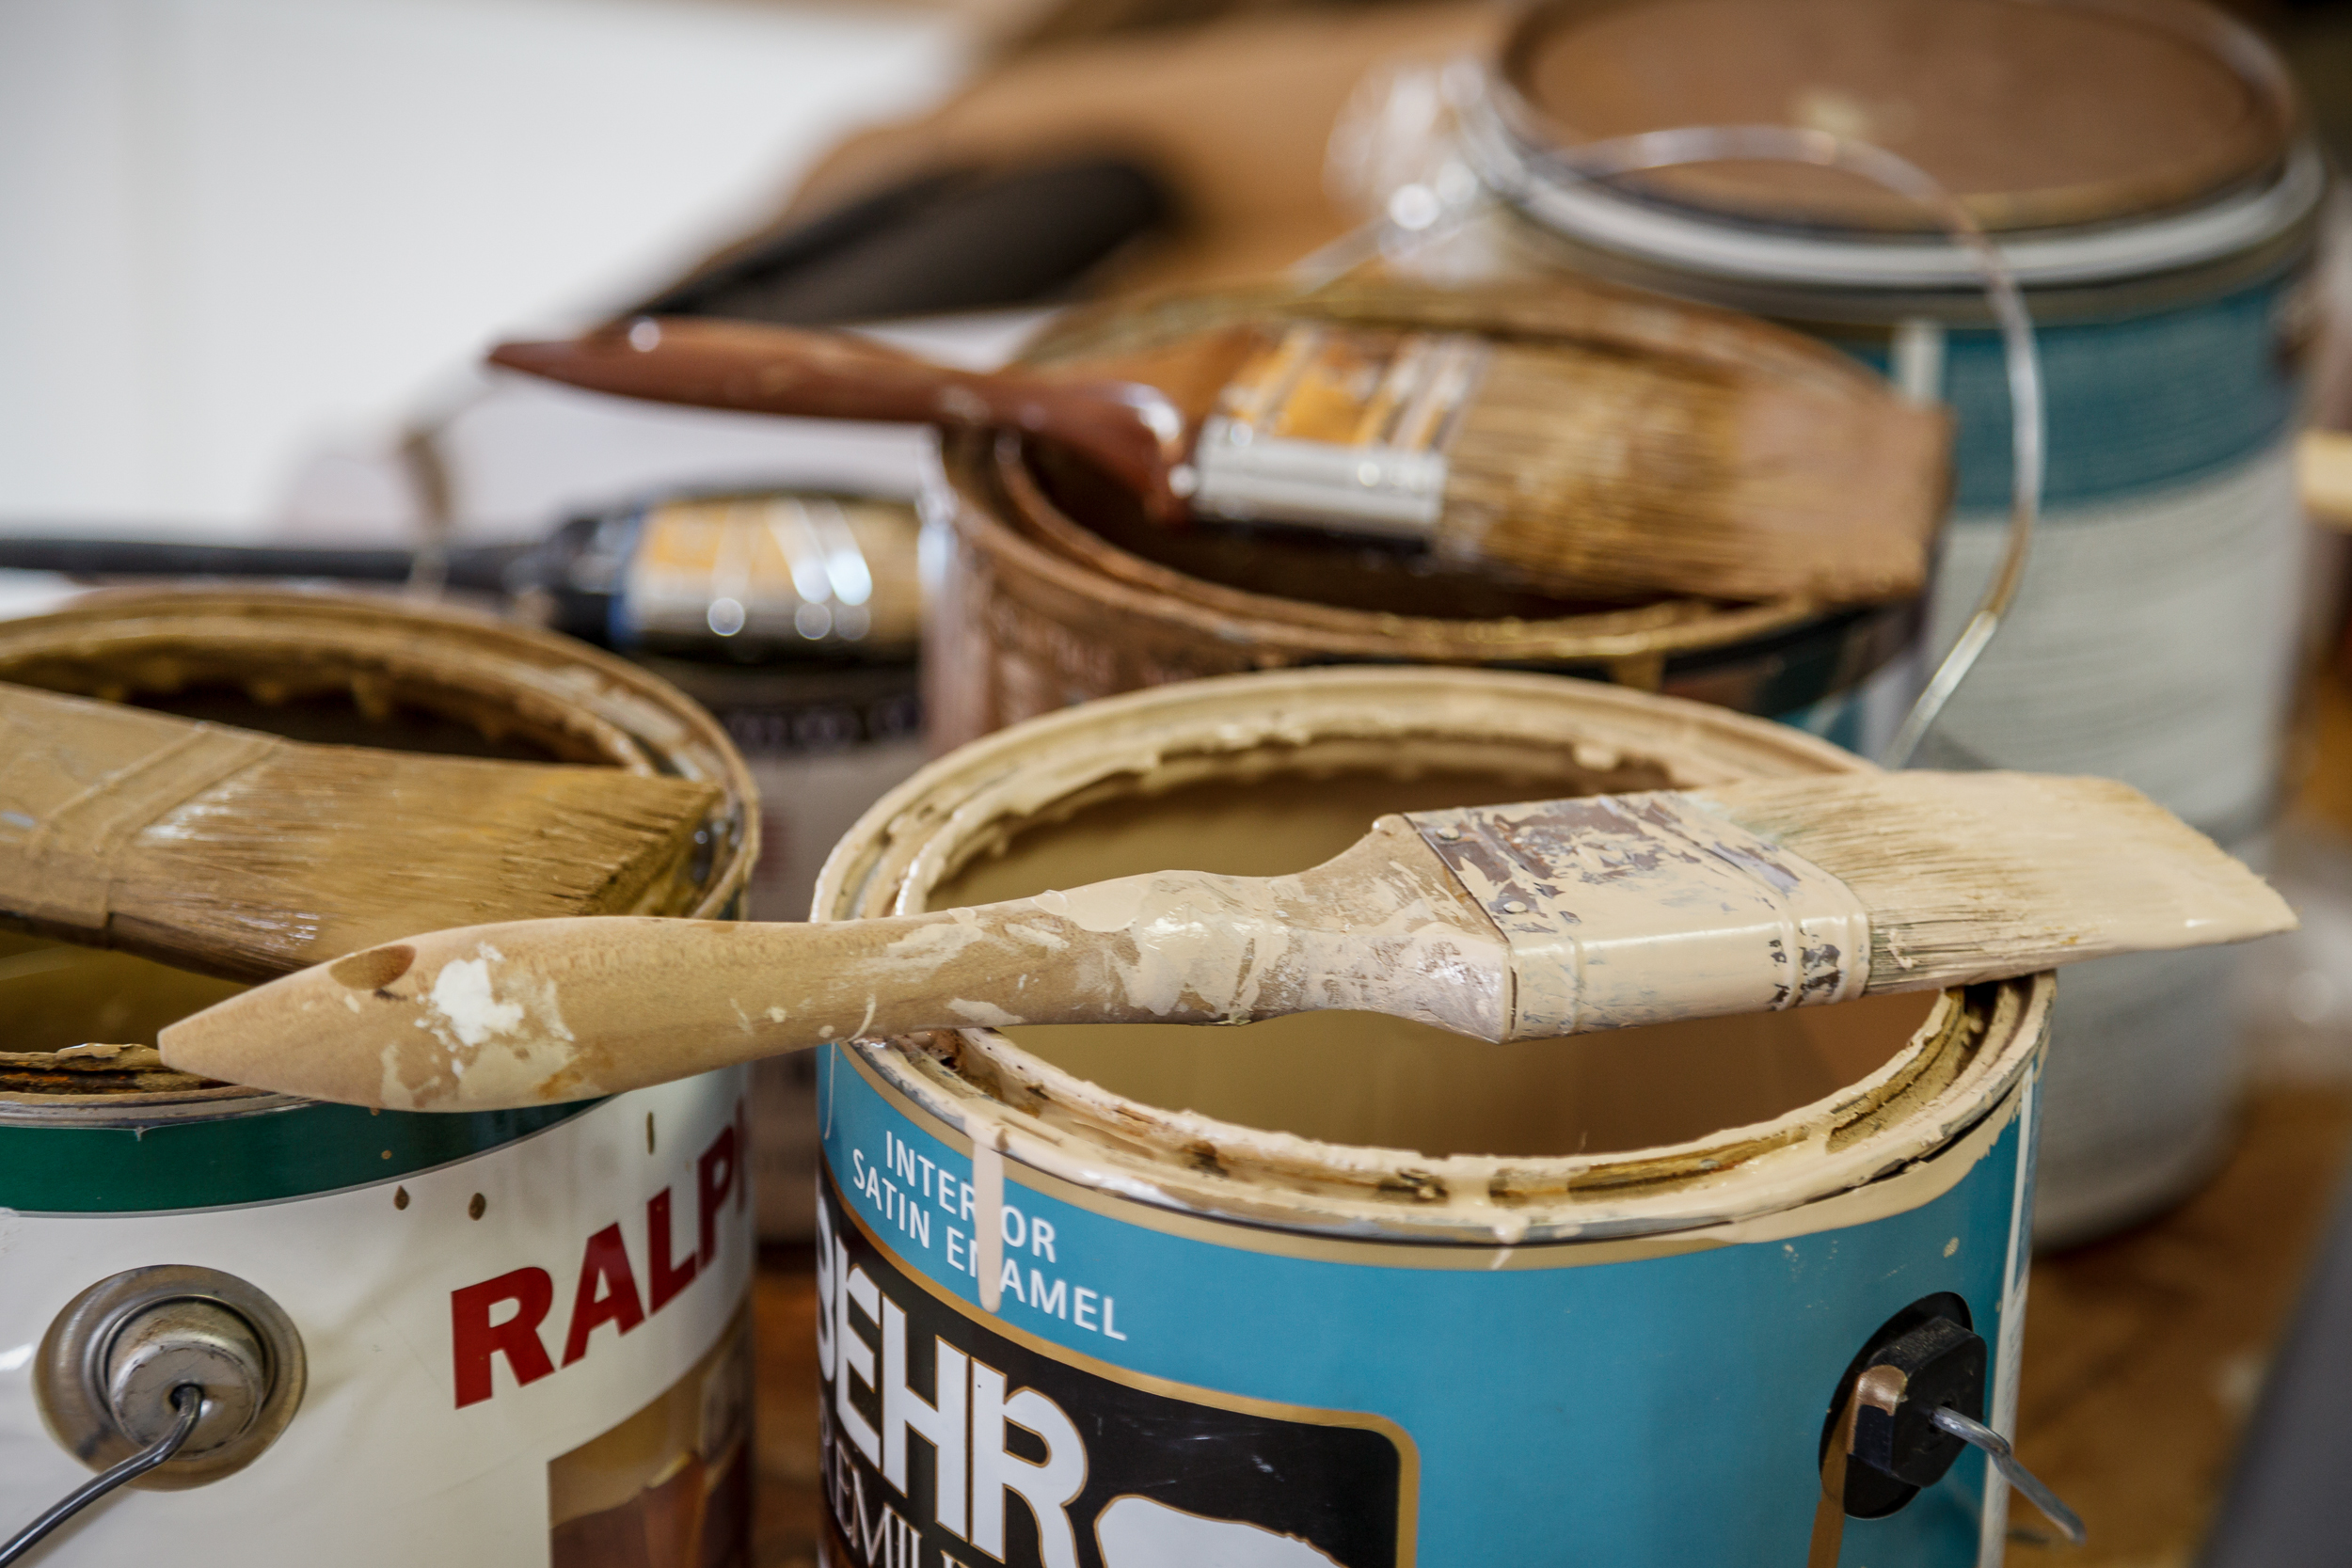
I stocked up with paints! I'm a bargain shopper (I learn from my older and wiser sister Katie) so I went to the Larimer County Landfill. They have an awesome place called the Drop 'N' Swap where they offer usable, low-toxicity products under their "Buy None, Get One Free" policy. I chose a variation in warm tone colors of mostly lights and mediums, and one dark. I chose mostly eggshell and satin finishes to keep it consistent. However, the gold Ralph Lauren color was a suede texture and the bronze Martha Stewart color was Metallic. It helped bring in texture.
*Note: If you get paint from a Drop'N'Swap be sure to read the labels. Some of the paints brought in there are old and contain led. However, one of the best things about the Drop'N'Swap, take back what you don't want/use.

I started in the corners so I could work my way out of the room. I had a brush for each color. I would work in small areas and slap down each color in a few spots and repeat with each color. As you can see I had three cream/ivory colors (very similar in color), three medium bronze/gold/yellow colors, and one army green color (use sparingly).

I then took a sponge and sponged each color separately. The sponge becomes quite saturated so I keep an old towel by me to dab it off between colors. Don't judge the attire. I believe I was the Queen during my breaks, wink.

As I go between colors, I will lightly sponge each section together to blend with out sponging too much to avoid looking "muddy".

Next I will use different tools to create texture, dimension, and levels of interest. I do it randomly but carefully. What I mean by that is, take a step back to see that everything is "flowing" before you decide which tool to throw down.

Next I will use different tools to create texture, dimension, and levels of interest. I do it randomly but carefully. What I mean by that is, take a step back to see that everything is "flowing" before you decide which tool to throw down.

Next I will use different tools to create texture, dimension, and levels of interest. I do it randomly but carefully. What I mean by that is, take a step back to see that everything is "flowing" before you decide which tool to throw down.

Next I will use different tools to create texture, dimension, and levels of interest. I do it randomly but carefully. What I mean by that is, take a step back to see that everything is "flowing" before you decide which tool to throw down.

This is the Martha Stewart Paint Tool Kit from Home Depot I used to create different textures. The only thing I used outside of the kit for texture was a Dobie cleaning pad and I did not use the steel wool in the kit. But get creative! I've used garbage bags, forks, mallets, anything that will create a cool and unique texture. Just test it in small areas first. I recommend picking up a small piece of inexpensive plywood at your local salvage yard to practice your technique on before beginning. I use Uncle Benny's and The Resource a lot for my home decor and art projects.
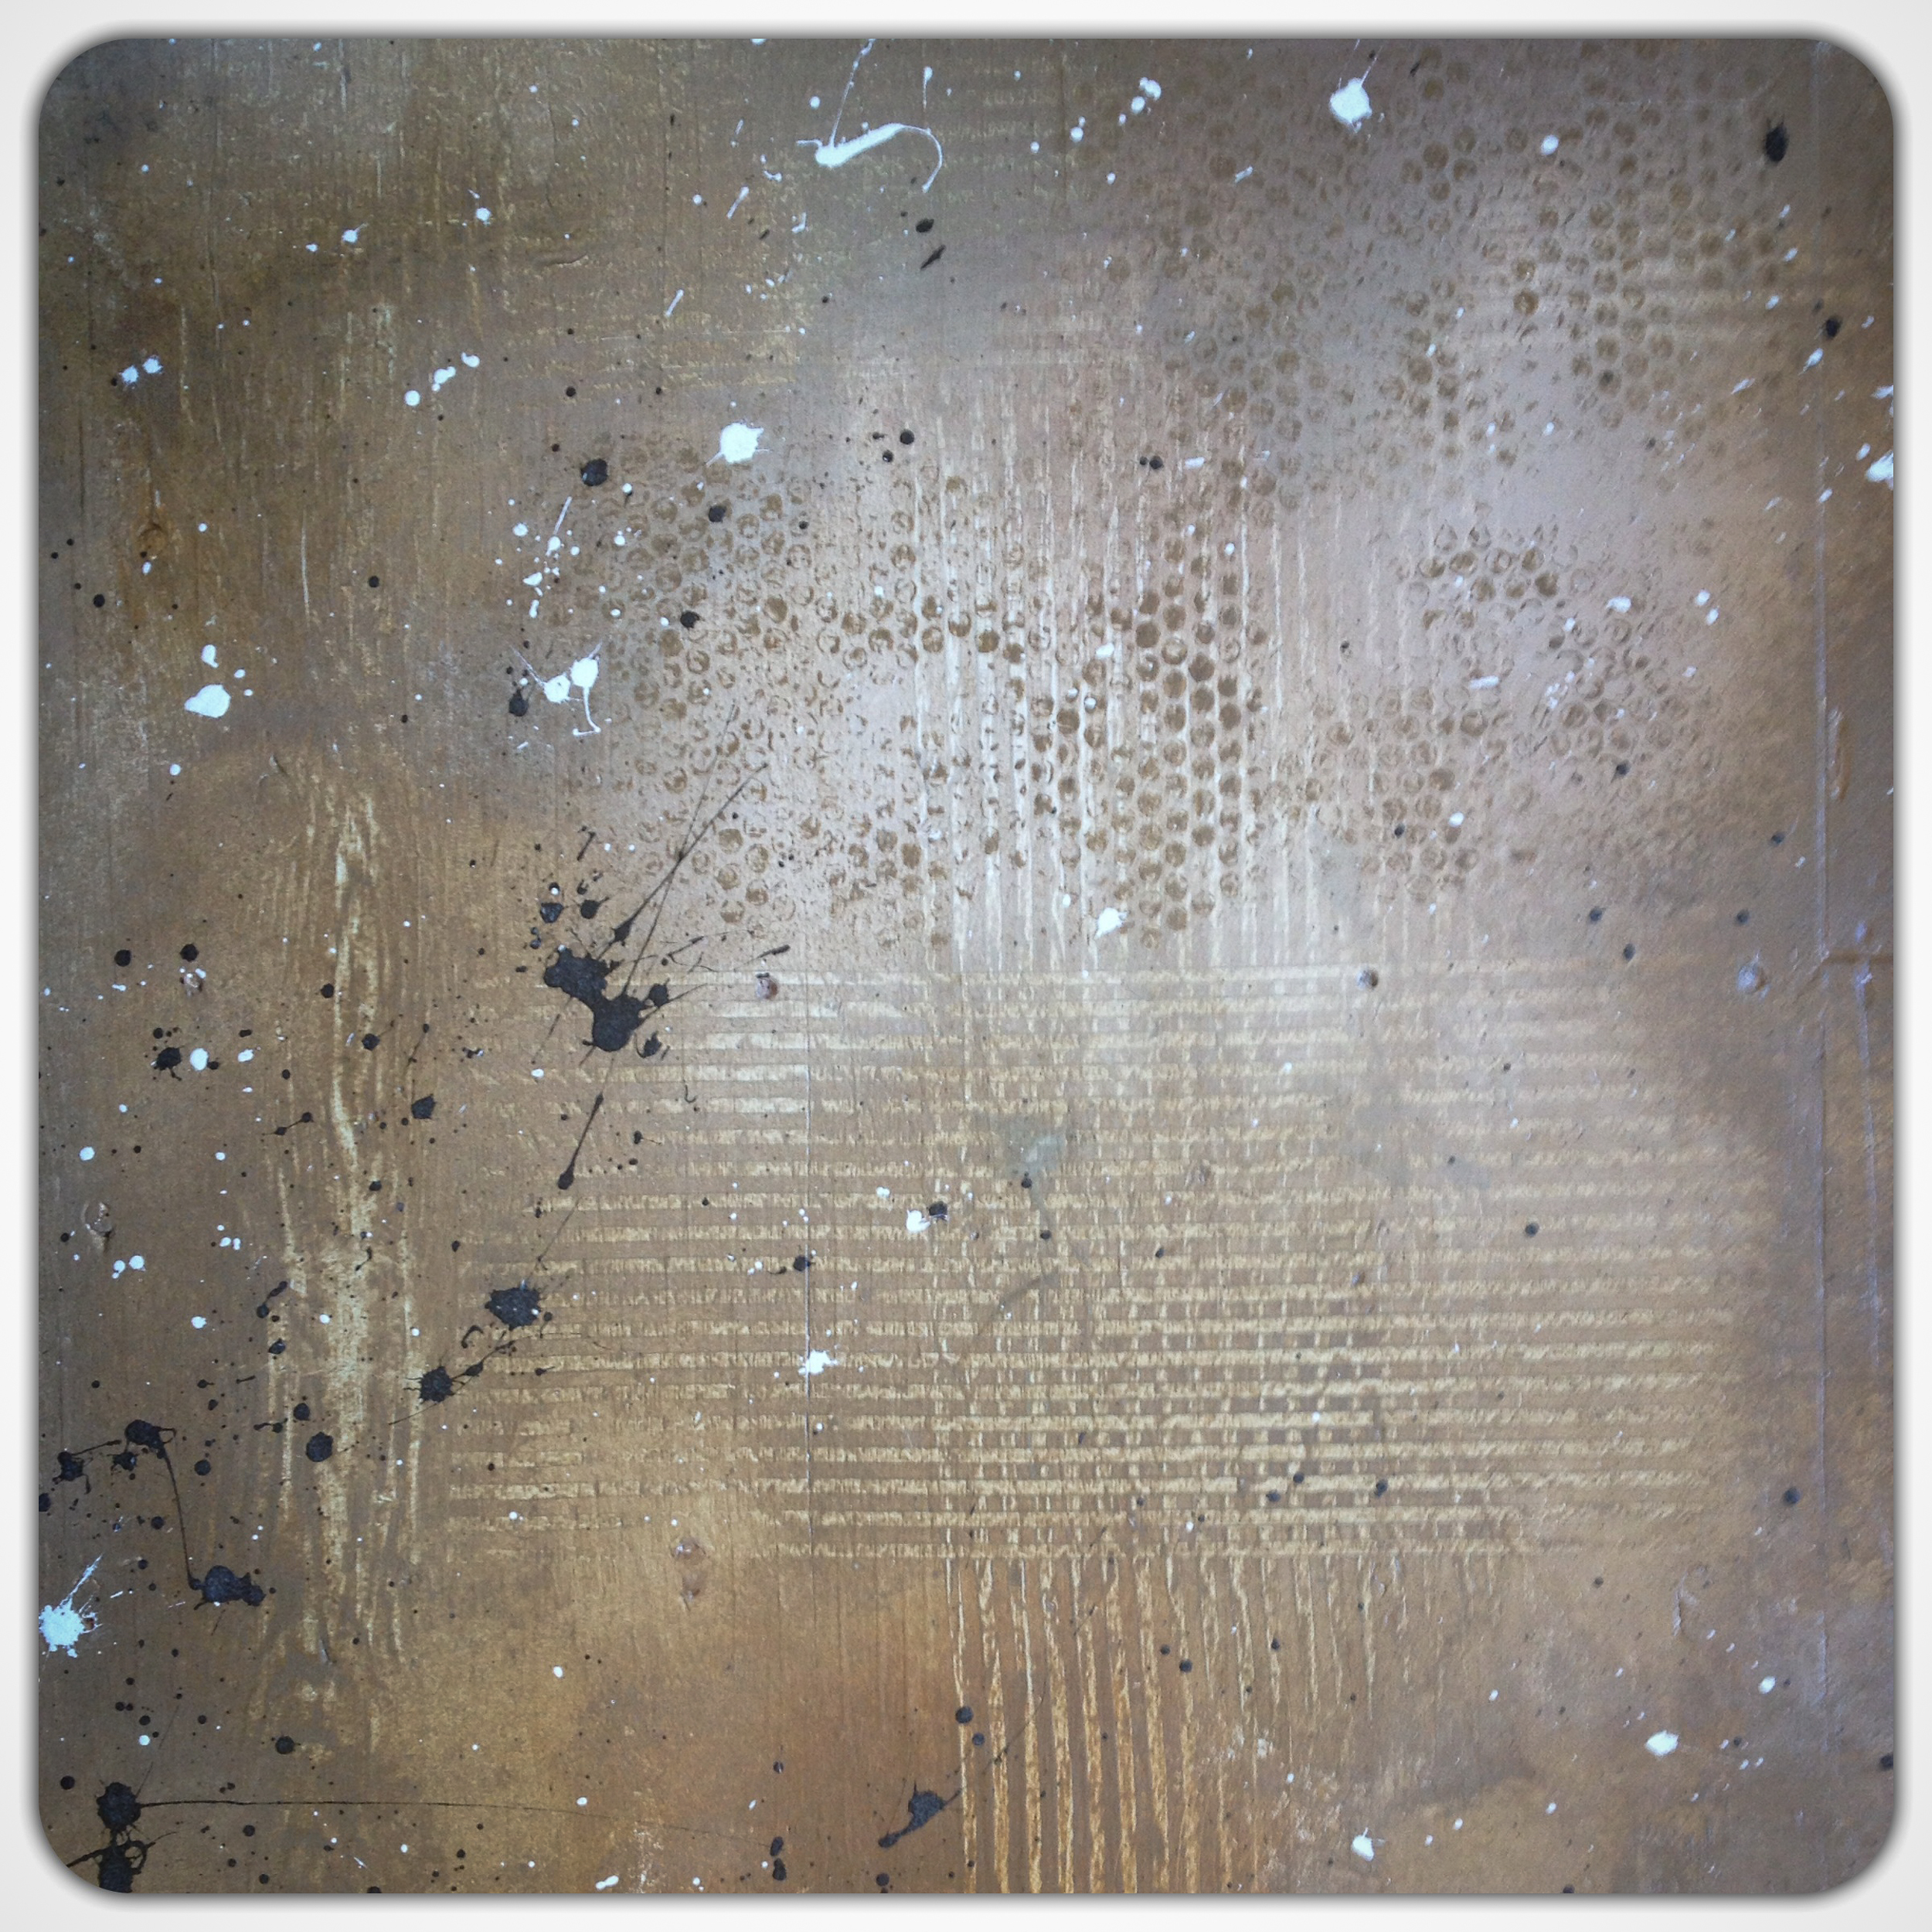
After the floors were done, I splattered the lightest and the darkest paints in random areas for an added effect. Make sure you cover walls with drop cloth or plastic in the areas you're doing or be prepared to do touch ups. After the floors dried for about 12 hours (I really wanted to be sure they were dry), I laid down 3 coats of Satin Polycrylic with a long handed paint roller to give the floors a slight sheen and to protect them. I painted my way out of the house and waited an hour between each coat.
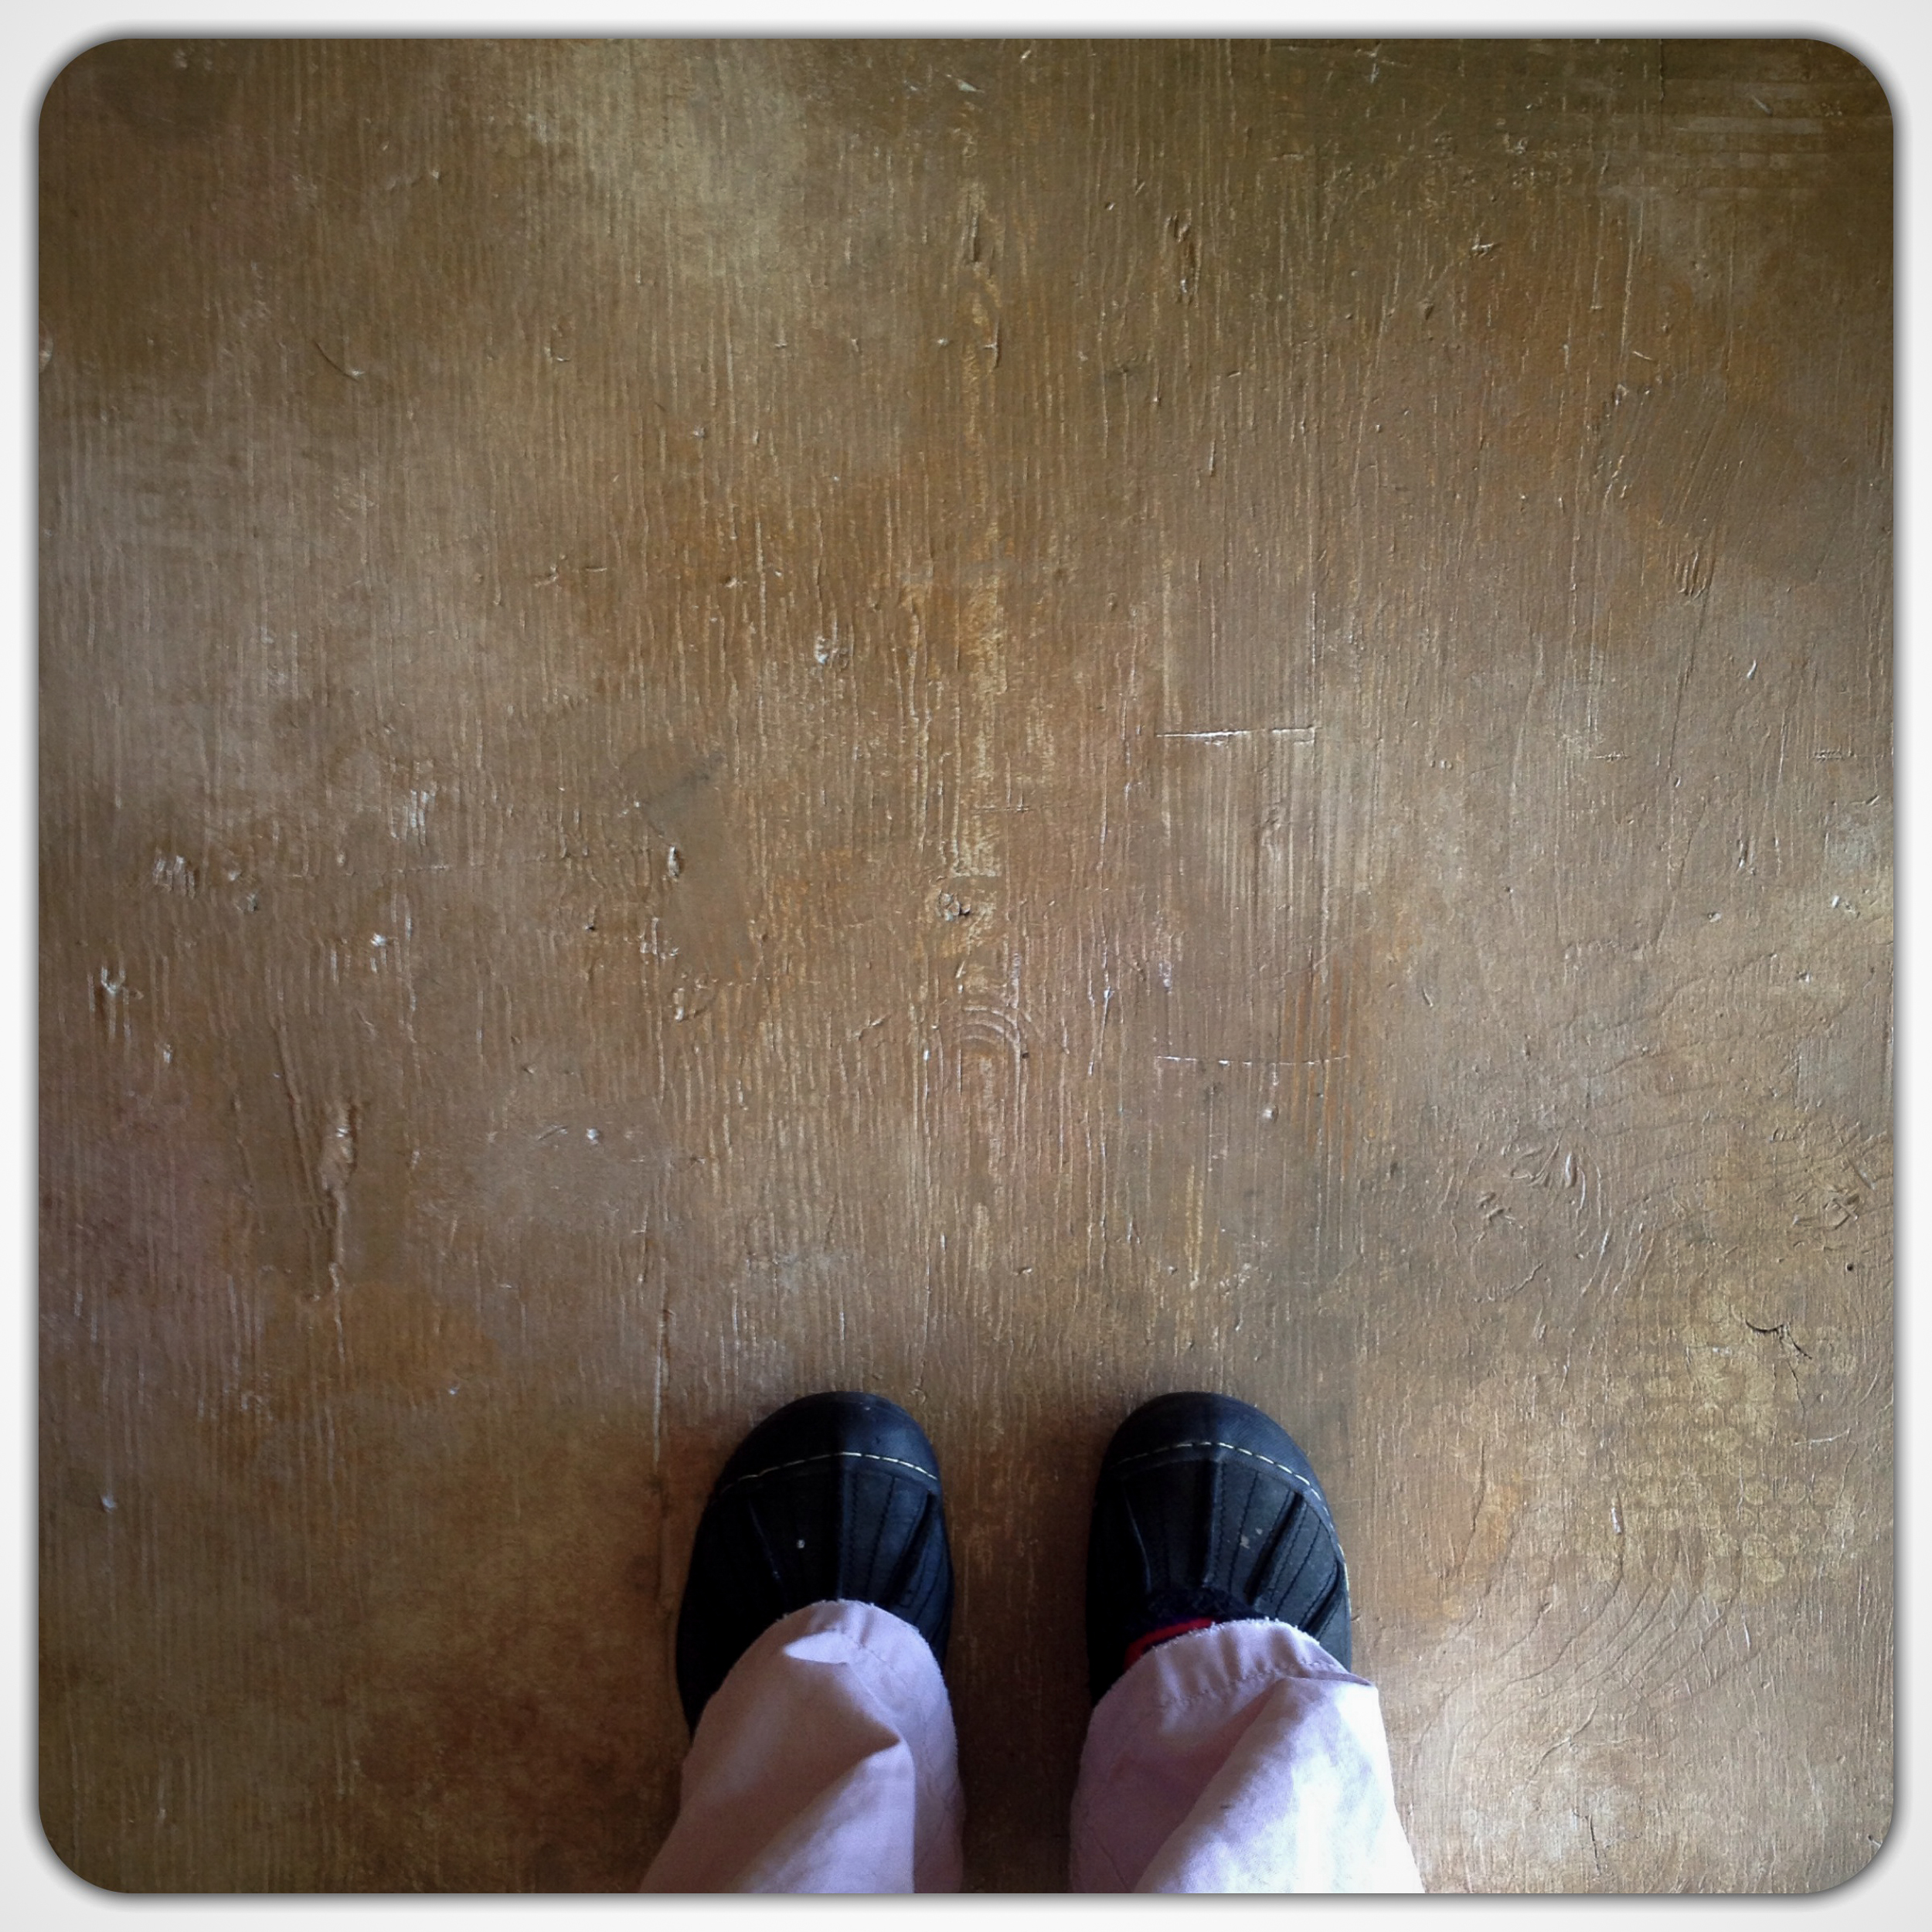
The texture gives it a more organic feel, helps to not make dirt as visible, and if you get a little wear and tear... well, it just adds to the look. Although, we've had the floors done now for a month or two and there's absolutely no wear or tear yet. Just make sure you prime and seal!

Finished floors in entry, living room, dining room, and main hallway for now. Since the paints were free, and any purchased tools we can use again, the only costs to this project were the dumpster, the KILZ, the Polycrylic, and a small amount of joint compound. The cost was about $200.00 for a rough estimate of 400 sqft.

We will eventually add an additional artistic baseboard to close the gap between the current baseboard and floor. But even for now, I just love it! Our house smells good, looks good, the floors are easy to clean, and I no longer have to tell guest to leave their shoes ON when they come in!
Update 2021: These floors held up pretty great. Definitely some scuffing in high traffic areas though. We also tried some other techniques in the bedrooms that worked wonderfully! We sold this house in 2019 with the floors as is and it was not an issue. The buyers loved it and their loan officer ended up not having any problems with it. We are currently renovating a 1930’s property into a small permaculture farm. We will definitely be doing some DIY’s. Follow along on YouTube. HOME WITH THE EDWARDS